1. Click Adsense tab. If you don't have an AdSense account yet, you may sign up within Blogger. Just enter a valid email address, choose a password, fill in some contact information (so you can get paid!) and then Blogger will register your account for you right away.
2. In your layout tab, click Add a gadget, then choose Adsense, then configure Adsense.
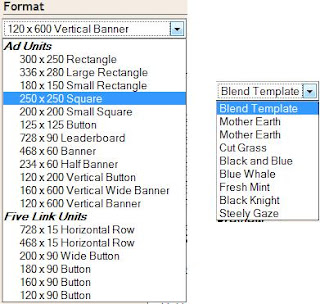
 3. Choose Adsense format and color.
4. Once you've decided how you'd like it to look, just save the changes and republish your blog. Then go check your email.
While you were deciding on layouts and colors, you probably received a confirmation email from AdSense. Find that email and click on the link it gives you to confirm your email address. Be sure to read the rest of the confirmation email as well, since it will contain other information on finishing the registration and approval process.
Adsense can be placed in different parts of your blog, on top of your blog post,or at the left or right of your page. Just drag Adsense where you want the advertisements to appear.
5. Congratulations! Google will now post advertisements on your blog.


0 comments:
Post a Comment